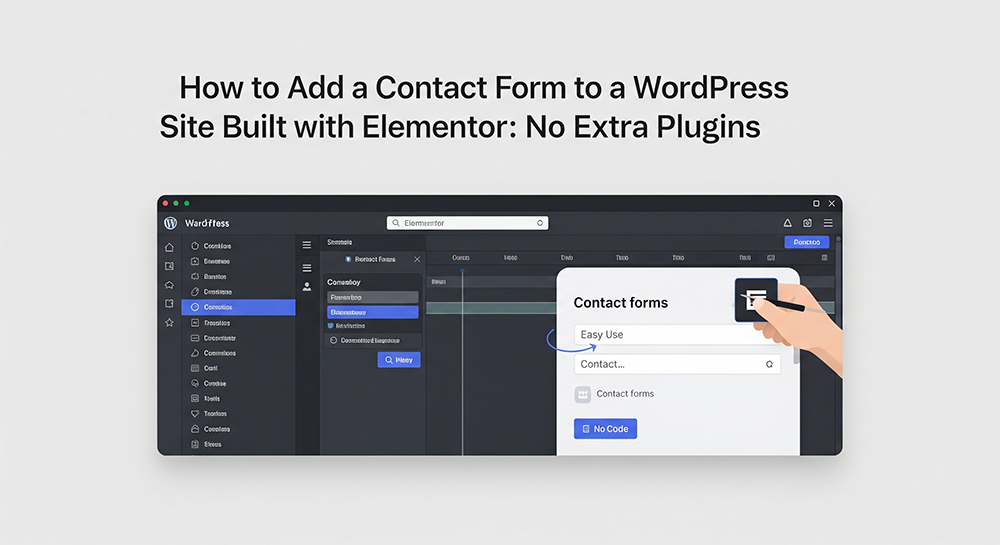
So, you’re building your site with Elementor, nice choice! It’s kind of addictive, right? Drag this, drop that, and boom, you’ve got a page that actually looks like something a pro would make. But then comes the moment every site owner hits: “Wait, how do I add a contact form?” Suddenly, things aren’t quite as smooth as before. Do you really need to install another plugin just for that?
Here’s the great news: you don’t. If you’re using Elementor Pro, you’ve already got everything you need to create a fully functional, great-looking contact form, no WPForms, Contact Form 7, or Ninja Forms required. In this guide, I’ll walk you through how to set it all up step by step, so you can keep your site lean, fast, and plugin-clutter-free.
Why Avoid Extra Plugins?
Let’s get this out of the way, plugins aren’t evil. Adding plugins to your WordPress site is kind of like adding apps to your phone. A few helpful ones? Great. But too many? Things start to slow down, break, or just get messy. Here’s why you might want to avoid using extra plugins, especially for simple tasks like adding a contact form:
- Slow down your site
- Create conflicts with themes or other plugins
- Add unnecessary code to your front end
- Open up new security vulnerabilities if not updated
If your site already runs on Elementor Pro, then you already have a form builder at your fingertips, no need to stack on more.
Requirements Before You Begin
To follow this tutorial, you’ll need:
- A WordPress website
- The Elementor Pro plugin installed and activated
(Note: The free version of Elementor does NOT include the Form widget)
If you’re using Elementor Free, scroll down to the bonus section for a no-plugin alternative using HTML and Elementor’s HTML widget.
Step 1: Create or Open the Page You Want to Add the Form To
- Head to your WordPress dashboard:
- Create a fresh page or choose a current one from the Pages section
- Click “Edit with Elementor.”
- Now you’re in Elementor’s drag-and-drop interface.
Step 2: Add the Form Widget
- In the Elementor panel on the left, search for “Form.”
- Position the Form widget on your page by dragging and dropping it.
By default, it comes with:
- Name field
- Email field
- Message box
- Send button
You can customize any of these easily by clicking on each field.
Step 3: Customize Form Fields (Optional)
Want more than just the basics? You can add:
- Phone numbers
- Dropdowns
- Checkboxes
- File uploads
- Date pickers
To add a field, click “+ Add Item” under the Fields section.
You can also adjust:
- Placeholder text
- Labels
- Required fields
- Column widths
This flexibility is one of the biggest perks of using the Elementor Form Widget instead of a third-party plugin.
Step 4: Set Up Form Submission Actions
Here’s where you make the magic happen.
Scroll down to the “Actions After Submit” section. Elementor provides options for configuring post-submission actions.
Common actions include:
- Email (send the data to your inbox)
- Redirect (send user to a thank-you page)
- Webhook (integrate with apps like Zapier)
- Mailchimp or ActiveCampaign (for email marketing)
For now, stick with Email.
How to Configure the Email Action:
Within the Actions After Submit section, access the email:
- To: your email address
- From Name: your site name or sender name
- From Email: e.g., [email protected]
- Reply-To: [email] (this allows you to hit “reply” in your inbox and email the user directly)
This part is crucial for making sure you actually receive messages from your contact form.
Step 5: Style Your Contact Form
The Elementor Form Widget gives you full design control without needing CSS.
Click the “Style” tab, where you can adjust:
- Typography
- Padding & spacing
- Field border radius
- Button color and hover effects
- Error message styling
Want your form to stand out? Add a background image or shape divider to the section. Clean, simple forms with plenty of white space usually work best.
Step 6: Set Up Notifications (Optional But Smart)
In the Actions After Submit section, click on the ‘Email’ option to configure your email preferences.
- Set up email forwarding in your hosting account
- Use SMTP with a service like Sendinblue, Mailgun, or WP Mail SMTP (plugin optional)
- Use Elementor’s webhook action to connect to a tool like Zapier or Make.com for instant Slack, Gmail, or CRM notifications
Even though this guide is plugin-free, SMTP plugins can help if you’re struggling with email deliverability.
Step 7: Test Everything
Before publishing your form, make sure it works.
Fill out the form yourself and:
- Confirm the email lands in your inbox
- Double-check that required fields work
- Verify mobile responsiveness
- Check styling across devices
Nothing hurts a conversion rate more than a broken form.
Bonus: No Elementor Pro? Here’s a Workaround Using HTML
If you’re using Elementor Free, you won’t have access to the Form widget, but you can still add a basic form using the HTML widget.
Paste this into an HTML block:
<form method=”POST” action=”form-handler.php”>

  <input type=”text” name=”name” placeholder=”Your Name” required><br>

  <input type=”email” name=”email” placeholder=”Your Email” required><br>

  <textarea name=”message” placeholder=”Your Message” required></textarea><br>

  <button type=”submit”>Send</button>

</form>
You’ll also need to create a simple PHP file to handle the data (form-handler.php), similar to the code in the previous article.
SEO & Performance Benefits of No Extra Plugins
Why does this approach matter for SEO?
- Faster page load: Fewer plugins = less CSS/JS bloat
- Lower TTFB (Time to First Byte), which is now a Google Core Web Vitals factor
- Better Lighthouse scores
- Fewer conflicts, especially important for sites with lots of custom styling or scripts
This lightweight approach is ideal for:
- Portfolio sites
- Business landing pages
- Freelancers or agencies
- Anyone who wants a simple, fast, and effective form
Conclusion
Creating a contact form in Elementor without extra plugins is not only possible, it’s smart. You get total design control, fast performance, and better site health. If you’re already using Elementor Pro, you’re doing yourself a favor by leveraging the built-in Form widget instead of crowding your site with yet another plugin. Use Elementor Pro’s built-in Form widget, no plugins needed. Add fields, style them, and configure email actions easily. Enjoy better speed, SEO, and fewer plugin conflicts. Test thoroughly and consider SMTP for email reliability. Elementor Free users can use an HTML form workaround