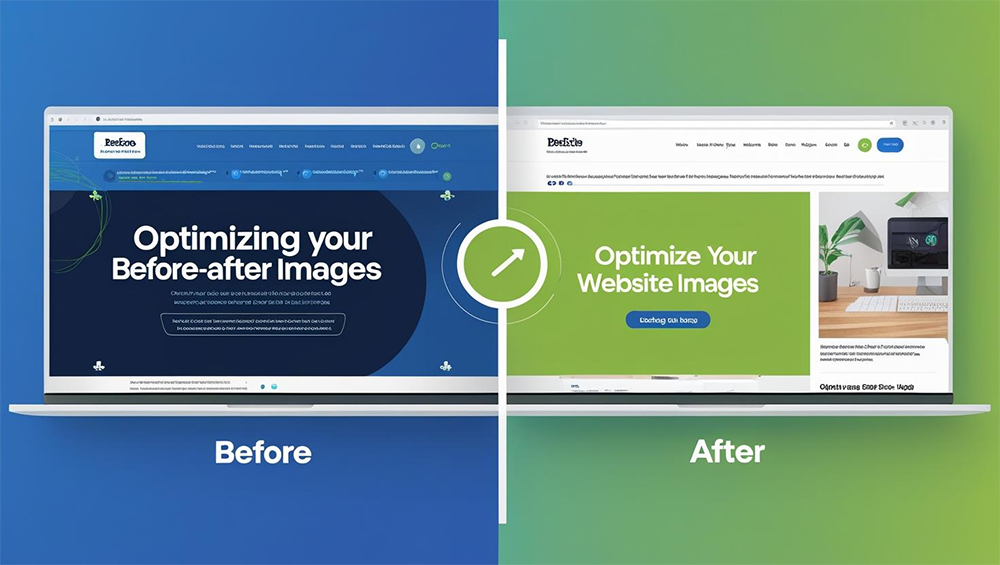
Running a landscaping, home renovation, skincare, fitness, or cosmetic dentistry business? Then you know the incredible impact of a great before-and-after image, right? They’re the ultimate trust builders. But here’s the catch: High-quality before-and-after photos can also slow down your website, a lot.
Big image files can slow down your site. Annoy people on their phones, and even hurt your SEO rankings. But there’s a right path to follow. You can optimize these photos without giving up the quality. In this guide, we will explain to you why optimizing photos matters. Here’s how to do it without losing image quality, plus some great tools to help you out.
Why Page Load Speed Matters (Especially for Service Websites)
Google has been crystal clear: Page speed is a ranking factor, particularly on mobile. And for service-based businesses, where trust and quick access are essential, a slow site can cost you serious revenue.
Here’s what happens with unoptimized images:
- Longer load times, especially on mobile networks
- Increased bounce rates. Users leave before the page finishes loading
- Lower rankings in Google search results
- Your website is failing its speed tests (Google PageSpeed Insights, GTmetrix, and Lighthouse)
It’s frustrating, but true: More than half of the people on their phones will leave your website if it’s too slow. That means your awesome before-and-after photos aren’t doing their job.
What Makes Before-and-After Images So Heavy?
Before-and-after images are typically:
- High-resolution (to show clear detail)
- Side-by-side or overlaid, making them double the size
- Used in galleries or sliders that increase page complexity
- Often uploaded straight from smartphones or cameras without compression
This leads to massive file sizes, sometimes several megabytes per image, when they should be under 200 KB.
Step-by-Step: How to Optimize Before-and-After Images
Let’s break down the most effective image optimization techniques tailored specifically for before-and-after photos on service websites.
1. Resize Before You Upload
Many business owners upload images that are 4000px wide when their site displays them at 800px. That’s way more than you need and it just slows your site down for no good reason.
Ideal Sizes:
- Blog images: 800-1200px wide
- Gallery thumbnails: 300-600px wide
- Full-width banners: 1600-1920px max
Use tools like:
- The leading and popular tools are Adobe Photoshop or Affinity Photo.
- If you are on tight budget, there’s free alternatives: Pixlr, Canva, or GIMP
2. Compress Images Without Losing Quality
After resizing, compress your images using lossless or smart lossy compression.
Recommended Compression Tools:
- TinyPNG (works for JPEGs and PNGs)
- ImageOptim (for Mac users)
- ShortPixel (offers WordPress plugin)
- Squoosh.app by Google (advanced manual compression)
Aim for:
- JPEGs under 200KB
- PNGs under 300KB (use PNG only when necessary for transparency)
3. Use the Right Image Format
Choosing the correct format can shave seconds off load times.
Best Practices:
- JPEG: It keeps your images looking great but shrinks the file size way down, way smaller than PNG. That means your photos load quicker, your site runs smoother, and your visitors aren’t stuck waiting around. Win-win.
- WebP: It does same great job at shrinking image sizes without making them look worse. It gives you the same quality as JPEG or PNG, just with way less weight. And smaller files mean your pages load faster, which makes your site feel snappier and keeps visitors happy.
- PNG: Only use PNGs when you actually need transparency (like for logos or icons). If you don’t need that, go with JPEG instead.
Bonus: If your site supports it, convert images to WebP for optimal balance between size and quality.
4. Avoid Heavy Sliders or Carousels
While image sliders look nice, they’re not performance-friendly. They:
- Load all images at once
- Require JavaScript and CSS to function
- Add multiple DOM elements, increasing complexity
Alternatives:
- Static side-by-side images
- Click-to-toggle before/after image switchers
- High-resolution images are displayed in a lightbox-style window; the image loads only when selected.
5. Enable Lazy Loading
Lazy loading ensures that images only load when the user scrolls to them, reducing the initial page load time.
How to do it:
- In HTML: Add loading=”lazy” to your <img> tags
- WordPress: Use plugins like a3 Lazy Load or WP Rocket
- Shopify: Built-in lazy loading in most themes (or use custom apps)
This is essential for pages with many before-and-after photos, such as case study galleries.
6. Use Descriptive File Names and Alt Text
SEO isn’t only about speed. It’s also about helping people actually find your content.Optimizing your image metadata helps Google understand your content.
Best Practices:
- File name: before-after-kitchen-renovation-toronto.jpg
- Alt text: “Before and after photo of kitchen remodel in Toronto, showing new cabinets and island.”
This helps with:
- Image SEO
- Accessibility
- Ranking for long-tail local search queries (like “Toronto kitchen remodel photos”)
7. Run a Website Speed Test After Optimization
Once you’ve compressed and uploaded optimized images, test your site’s performance to measure improvements.
Best Tools:
Look for improvements in:
- First Contentful Paint (FCP)
- Largest Contentful Paint (LCP)
- Time to Interactive (TTI)
All of these are Core Web Vitals key ranking factors for Google in 2025 and beyond.
Real-World Example
A local landscaping business had 15+ before-and-after photos on their homepage, each over 2MB in size. The site took over 12 seconds to load on mobile.
After implementing:
- Image resizing (to 1200px)
- Smart compression via TinyPNG
- Lazy loading
- Conversion to WebP
Bonus Tools for Ongoing Optimization
- Smush (WordPress plugin): Automatic image compression
- Cloudflare CDN: Delivers images via fast global servers
- ShortPixel Adaptive Images: Optimizes + lazy loads images in real time
- Canva Pro: Allows image resizing and WebP export
Conclusion
Your before-and-after photos are solid proof that what you do really works. If your images are not optimized enough, instead of helping, they are actually hurting your site. On the other hand, if you successfully did, your web performance will improve. It boosts local SEO rankings. Lower bounce rates. Increase conversions. Deliver a better experience for every visitor. Start small. Pick 5-10 of your most visited service pages. Compress, resize, and optimize the images. Give your website a performance tune-up, and watch it (and your business) accelerate.